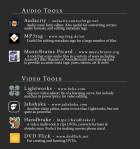
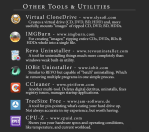
If you get a new computer the first thing you should do is go to Ninite – basically the website has a bunch of boxes you can tick which consist mostly of the above, a few different ones though but they offer a free alternative to everything.
The beauty of it is, when you’re done you click a button, it puts it all in a single installer, they all install without any toolbars or any other nasty programs – just clean installs! There’s absolutely no catch. It’s a must-use.
You sure have seenthis post. It has spread like wildfire over the past few days so I doubt there is any artist out there who hasn’t seen it. But even if you didn’t, you should read on because I’m about to tell you a handy little thing that can help you to protect your art from such assholes as the anon who submitted this bullcrap, as well as art thieves in general.
The magic word is Metadata.
Metadata is like an invisible signature that is embeded into a file. It can contain all kinds of information, like Title, date, keywords for online seach engines, and copyright information. And the best thing is, since this information is “hidden” in the code of your picture, it’s hard to remove it.
There is a nice basic tutorial on how to add Metadata, or “additional file information” to your images in photoshop. It’s really, really easy so check it out!
I’m not sure if you can do the same with any other art program. If you know how to do this in other programs / can confirm that it works the same way there, please tell me so I can add the information to this post.
Adding the Metadata will not stop idiots from taking and reposting your art. It also won’t make them stop editing out your signature. It WILL however, help you prove that you are the original artist whenever you have to. Always remember my friends. You, the artist, are protected by law. No one has the right to take your intellectual property and hard work and repost, use or edit it without your permission. Ever.
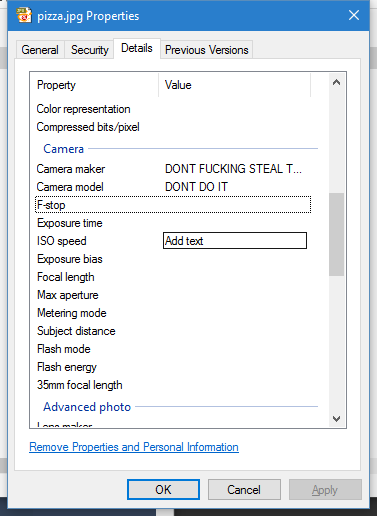
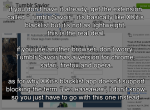
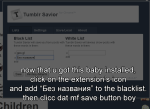
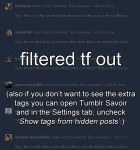
OP is talking about something images can store called EXIF data which tumblr can actually parse and that most image tools preserve no matter how much the image gets edited. Tumblr shows camera-related exif data as the little “i” on the bottom of images and not much else will show besides camera-related data(Author or Image Description fields aren’t immediately shown) but you can edit the camera name and model to source your art if it ever gets reposted to tumblr. This only works on JPG images. Right click your image and go to properties and go to the details tab and edit the camera-related exif metadata and it will show up when uploaded to tumblr. Even if the image was to be edited in photoshop or whatever.
Not sure if Mac users can do this as a native feature but they can use this [http://thexifer.net/]
yo here’s a useful tip from your fellow art ho cynellis… use google sketchup to create a model of the room/building/town you’re trying to draw… then take a screenshot & use it as a reference! It’s simple & fun!
Sketchup is incredibly helpful. I can’t recommend it enough.
There’s a 3D model warehouse where you can download all kinds of stuff so you don’t have to build everything from scratch.
reblog to save a life
This is an incomplete tutorial, and it drives me crazy every
time I see it come around.
We live in a pretty great digital age and we have access to
a ton of amazing tools that artists in past generations couldn’t even dream of,
but a lot of people look at a cool trick and only learn half of the process of
using it.
Here’s the missing part of this tutorial:
How do you populate your backgrounds?
Well, here’s the answer:
If the focus is the environment, you must show a person in relation to
that environment.
The examples above are great because they show how to use the
software itself, but each one just kind of “plops” the character in front of
their finished product with no regard of the person’s relation to their
environment.
How do you fix this?
Well, here’s the simplest solution:
This is a popular trick used by professional storyboard and
comic artists alike when they’re quickly planning compositions. It’s simple and
it requires you to do some planning before you sit down to crank out that
polished, final version of your work, but it will be the difference between a background
and an environment.
Even if your draftsmanship isn’t that great (like mine),
people can be more immersed in the story you tell if you just make it feel like
there is a world that exists completely separate from the one in which they
currently reside – not just making a backdrop the characters stand in front of.
Your creations live in a unique world, and it is as much a character as
any other member of the cast. Make it as believable as they are.
°F – it’s alright. it’s actually not that cold but it’s wet and slushy and soggy and you will feel cold because your feet gets wet.
-5
°C / 23
°F – perfect weather for all kinds of outdoor winter activities! don’t forget your gloves, they’re vital.
-10
°C / 14
°F – a bit cold but it’s alright. you’ll get a runny nose. if you’re out for a long time, wear woolen socks.
-15
°C / 5
°F
– kind of cold but not like super cold. kind of a blah temperature because it is a bit too cold but not like actually cold. if you have long hair, your breath will make your hair freeze. please, don’t torture yourself, wear actual winter boots.
-20
°C / -4
°F
– when it comes to outdoor P.E. classes (skating or skiing) in schools, this is usually the temperature limit. Without outdoor pants you will look fashionable but suffer. With outdoor pants, you will be comfortable but not so fashionable.
-25
°C / -13
°F
– long underwear is a must. your hair will freeze. if you use makeup wear waterproof mascara because your eyelashes will freeze.
-30
°C / -22
°F
– okay, it’s really cold. the craziest finns will still go skiing, though. in addition to your hair and eyelashes, your eyebrows will freeze too. and your face hair. like the small peach fuzz on your cheeks, it will freeze.
-35
°C / -31
°F
– you will have a lot of trouble with starting your car. everything will freeze
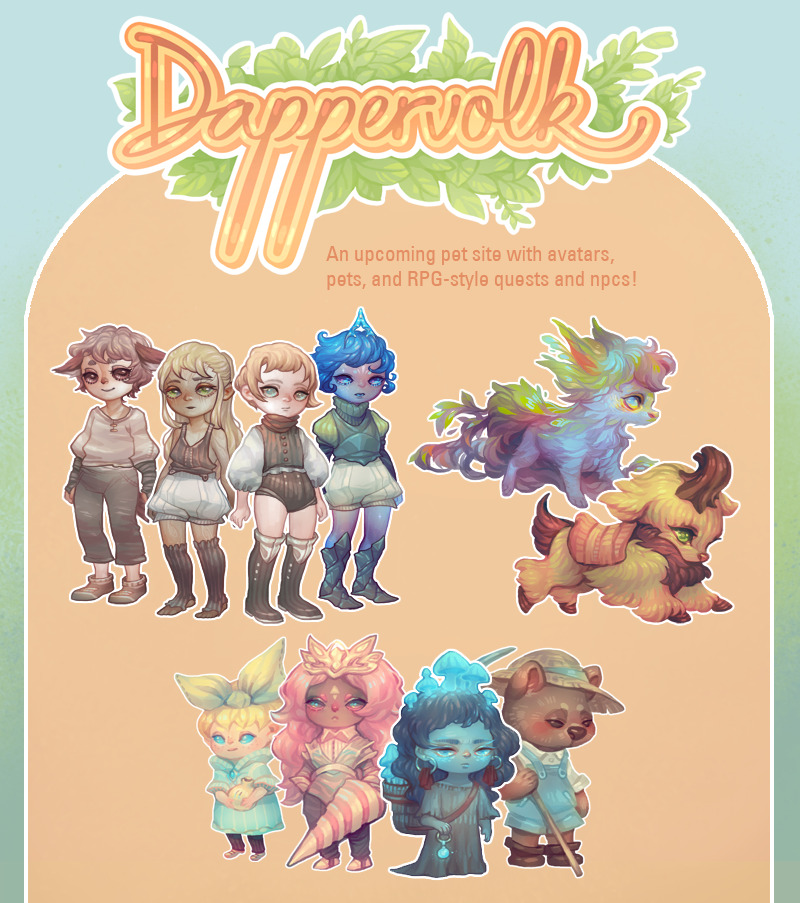
Hello! This is a development blog for Dappervolk, an upcoming avatar
& pet site with cute painterly-styled art and RPG-style quest
elements.
When you as a new player enter the world of
Dappervolk, you won’t be sure where you came from, and you’ll find that
you have magical abilities that the native denizens of this world don’t
have, setting you apart from them. The story behind your kind’s appearance will
gradually unravel as you explore the world and interact with NPCs.
As
the player, you’ll be able to choose between 4 primary classes – Human,
Animal, Elf, and Galactic. Each class has its own strengths and
weaknesses, which will affect your gameplay stats. As you wander through
the world of Dappervolk, NPCs will ask you to choose different pathways
to different quests, which will subsequently change your story and the
rewards you’re given, and affect your interactions with other NPCs.
Aside
from the ever-expanding world and main questline, players will also be
able to collect avatar clothing, hatch pets, chat on the forums,
complete daily quests, and play the minigames.
Players can trade or sell their items, roleplay their characters, and
immerse themselves fully in the different mechanics of the game.
Most shops in the world will be chance machines, allowing for some
exciting surprises and rare item finds.
Please follow this
development blog if you’d like to stay updated on our progress, as well
as participate in future social media events, alpha, beta, and finally
the official launch!
We’ll be posting tidbits of information, as well as show our progress creating the art for the game
and other game-related updates.
aaaah LOOK AT THIS CUTE up&coming avatar site!!!! SO STOKED AND LOOK AT THAT CUTIE ARTWORK please look forward to it, this babby’s hard at work making it!!
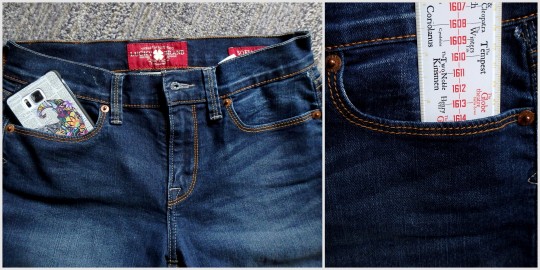
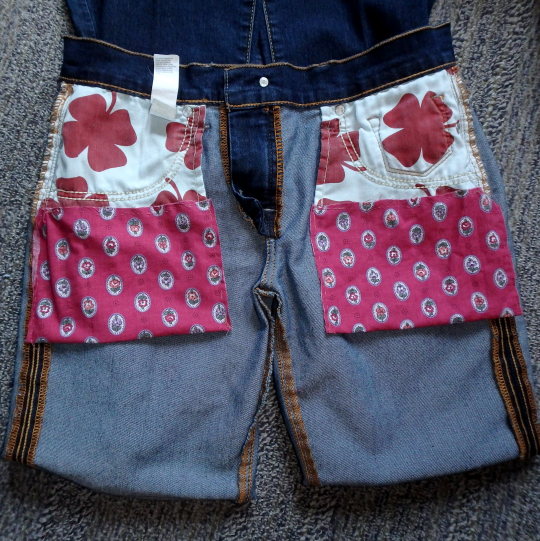
So I don’t know about you, but I’m often frustrated by the ridiculous smallness of girls’ pockets. At a bare minimum, I need to be able to shove my cellphone in there – come on, pants companies! So what I started doing was making myself pocket extenders. I’ve done this several times, for pants and shorts. It’s great.
I just got this pair of jeans, so I thought I’d show you how to do it. I kind of feel like it just hasn’t occurred to some of you that this is an option, so maybe now it will. All you need is your pants, some fabric (I just took a random piece from a scrap bin), a needle, and some thread (thread doesn’t even need to match the fabric since literally no one will see it).
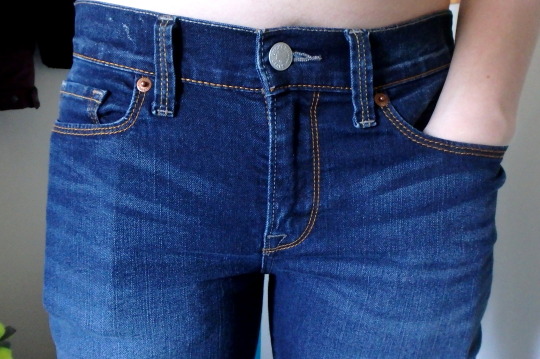
See? Ridiculous. Like, half a cellphone, or only 2.5″. Useless.
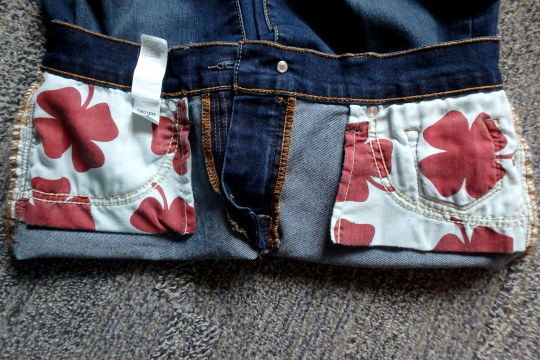
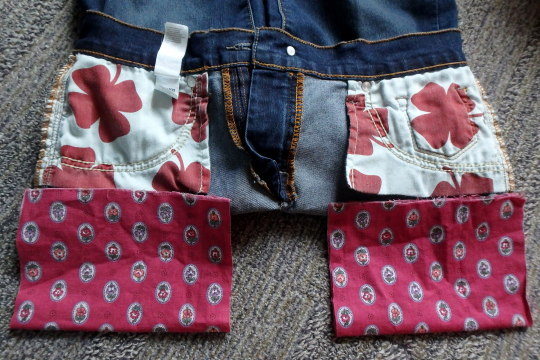
So turn those inside out to expose the pockets.
Figure out how big you want your pockets to actually be. I kinda go by whatever looks like might be right. I didn’t
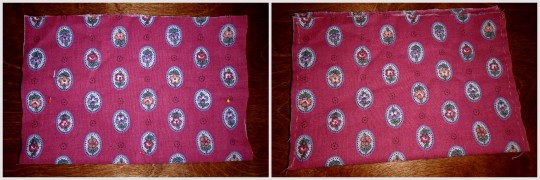
really measure them. Fold the fabric in half, so you have a pocket, and
then fold it in half again so you can have two equal ones.
Try to get the edges to line up enough, pin it in place, then sew up the sides! Are your stitches crazy uneven and wonky looking? Doesn’t matter; nobody’s going to see it. These are in the inside of your pants. The only thing that matters is that it holds up. So I double-did the corners, since those tend to get the most stress.
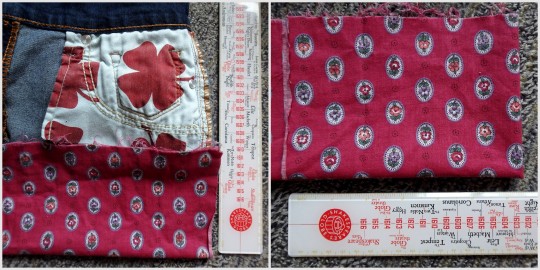
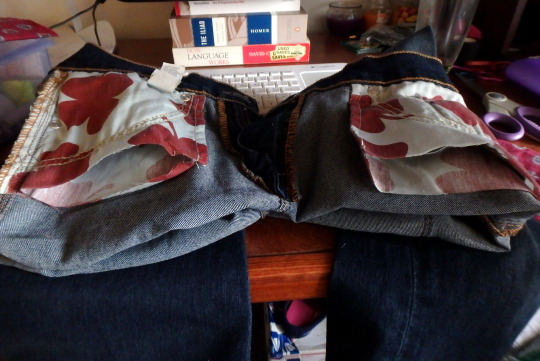
Cut open the bottom of the existing pockets.
Pin it in place, then sew around, joining the new pocket to the old pocket. I did this by keeping my hand on the inside, so I wouldn’t accidentally sew through the other side. Again, I reinforced the corners, and didn’t worry about what it actually looks like. Then I turned it in side out to make sure the inside was all joined properly.
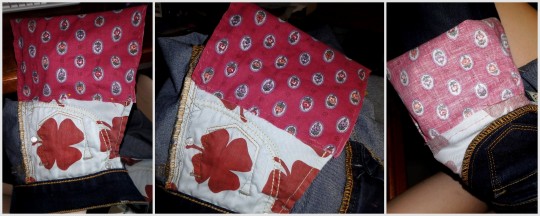
Yay all done! And the pockets are so much bigger now!
Whaaaat I can fit my entire phone and entire hand and probably something else now, are girls’ pockets even allowed to do that?! Heck yeah they are.
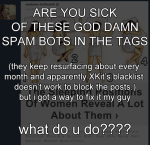
be sure to signal boost this because some of the spam bot posts are really gross and unpleasant and i don’t want to scroll through that shit while i’m eating or something